Craftsy Unlimited FREE 7 day trial at Craftsy.com
Happy Cloud Quilt Batting by Fat Quarter Shop
Cricut is Easy as 123
Loralie Designs

Monday, July 25, 2011

My IMAGINE-ation Monday July 25, 2011

We are just getting on track from this weekend's fun!

Sue-ann and Amanda were with me this weekend, I am going to share a few pictures of what fun we had as well as what they have made to share with you!

Sue-ann's creation
 Please see Sue-Ann's Blog to see how she made this!

Amanda's creation

I think the stamp she used was in her goodie bag from me this weekend! I am so happy you used it!
We had such a fun time. To see how Amanda made this please visit her blog. Thanks!

We stayed up half the night hand dyeing ribbon and we were covered in dye. It seemed like a sorority trip like when I was in college. On Thursday, I met Amanda, Kat, Sue-Ann, Emily, Pattie and Ricki, oh the laughs. 
Here are just a few pictures from our weekend!

Day one at Archivers, from left to right
Kat, Sue-Ann, Me, Bella, Emily, Amanda

Amanda with rubber gloves dying ribbon

Day two, about to enter the Cricut Circle meet-up!

Sua-ann and Kat, so happy we all met!

Ready to give Cricut a HUG!

Bella and her friend Miss Kitty..... I think she turned Miss Kat into Kitty :)

Looks like Amanda is Excited!

Cricut with all of the Circle calling cards

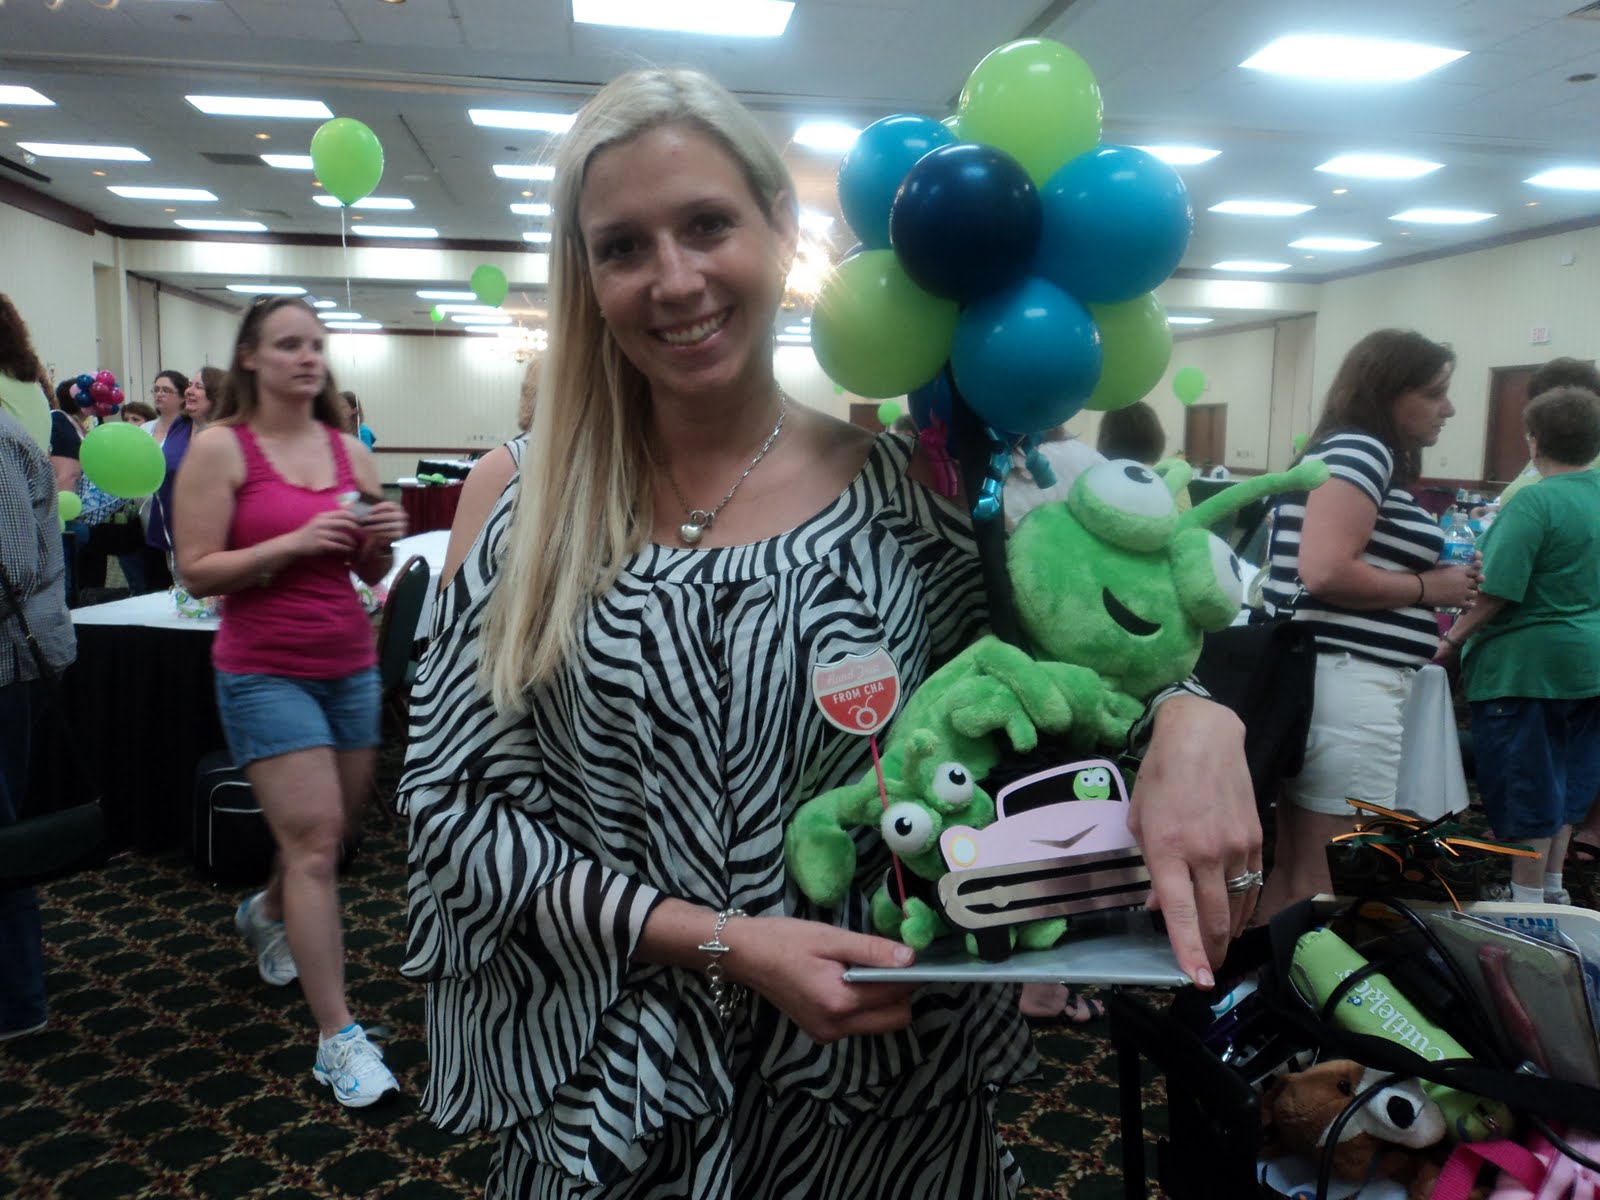
Cricut on his road trip from CHA

Packed his bags

Here are the entries that people mailed in to Cricut for a chance to win

This is a nice little Cricut Family

Amanda's Cricut Family, complete with the Ohio Circle Pin!

My newest members to my famiyl!

Blue guy and Pinkie

Plum and Cricut jr.

Cake Girl and What an IMAGINE-ation!

Cricut is so happy to be on the road trip!

My and the oldest members of the Cricut family!

Our  Circle group who were at the Crop

Isn't he a character?

Not modest in any way!

A Cricut Flex, nope cartridges did not come out of his pores when he flexed!

Again no modesty here!

Here were the magnets that several Circle members made for the event!

Here is a close up of a few of them


Don't forget to stop back tomorrow for Card Creating Tuesday!

Festive Friday July 23, 2011

Forgive us, we were at the Cricut Circle Event in King's Island this weekend. 
Here is Kat's project that she made.


Kat's Cards

I wish the beautiful details for these cards came through the pictures.  I saw these in person and they are so pretty! 
Visit Kat's Blog to see how she made them.


Tomorrow is my Design Team's Favorite Day, 
Card Creating Tuesday!


Thursday, July 21, 2011

Theme day Thursday July 21, 2011 Back To School

Welcome to our Theme Day Thursday, Back to school!

My wonderful design team has made some great creations to share.

Tina at Crafty and Green has shared this,
To see how Tina made this, please visit her blog


Scrappin Dhilly has shared this
 To see how she made it, please visit her blog

Stop back tomorrow for Festive Friday and our Christmas In July blog hop this weekend!

Wednesday, July 20, 2011

Would You Ever Guess Wednesday July 20, 2011

Welcome to would you ever guess Wednesday!
I am still under the weather, so I am going to let my design take this week.... They have made such wonderful stuff to share with you today.

Lucinda used Dreams Come True Cricut Cartridge

To see how Lucinda made this, please visit her blog

Stop by Tomorrow for Theme Day Thursday, Back To School!

Tuesday, July 19, 2011

New Cricut Machines!!!

So I have heard at CHA Cricut is releasing two new machines...

Cricut Mini™
Cricut Mini is a small, lightweight, ultra-portable way to make almost anything you want – out of many different types of materials, including thick and thin paper, fabric, vinyl, magnetic material, craft foil, and lots more. With Cricut Mini, it’s easier than ever to make projects and be more creative!
  • Small, portable, and lightweight for ultra space savings.
  • Works with any computer PC or MAC with a standard wireless or wired Internet connection.
  • Simply plug it in, turn it on, connect to Cricut Craft Room – the online design tool where you can see and design with every Cricut cartridge – and start making projects..
  • Cuts up to 8.5” x 12” paper and other materials. Cut small shapes and fonts from ¼” to larger cuts up to 11½”!


Cricut Expression® 2
Introducing Cricut Expression 2 Personal Electronic Cutter. We've taken everything you love about Cricut Expression and made it even better. All-new machine design, bigger, full-color LCD touch screen, material setting, and a cutting-area light are just the start. Cricut Expression 2 will do everything Cricut Expression can, plus lots of exciting new features like:
  • Still 12” x 24” cutting capability: Enables large-format cutting and creating.
  • Compatible with ALL Cricut cartridges – including Cricut Imagine cartridges. (Cricut Imagine cartridges will just cut images, not print images or patterns.)
  • Larger, faster, full-color LCD touch-screen display with stylus. No keypad overlay required!
  • Mat Preview: See shapes you’re cutting and where they fit on the mat before you cut!
  • Material Setting: Choose a default setting for materials you like to cut (cardstock, regular paper, chipboard, etc) OR customize a material setting just how you want it.
  • Layer View: See all creative features and layers right on the screen, including shift layers. No need to keep referring back to the handbook!
  • Wireless-compatible: Connect to Cricut Craft Room with your Cricut Expression 2 wirelessly.
  • And many more!

I will be sure to tell you more about these machines when I when I see them in person!


The information about these machines are property of Provo Craft and Novelty,
This site is not affiliated with Cricut or Provo-Craft, nor does this represent their opinion.

Card Creating Tuesday July 19, 2011

Welcome to Card Creating Tuesday!

My design team has made some wonderful projects to share with you.
I am still fighting the shingles and the nerve issues with it. Which also flared up my Rheumatoid Arthritis, so crafting is out for me for a few days. They have made some wonderful creations that I would love to share with you!

Terry used Birthday Bash Cricut cartridge to make this. I am going to scraplift this one!
To see how Terry made this please visit her blog


Pat used her favorite Cricut cartridge Nifty Fifty,
If she keeps making cards like this she can use it every week :)
To see how Pat made this please visit her blog


Tina used Create a Critter & Dreams Come True Cricut cartridges
She made this at my house the other day, so I got a sneak peek at it the other day!
To see how Tina made this please visit her blog


Make sure to come back tomorrow for
Would You Ever Guess Wednesday,
where we use unique features of our cartridges that you might not guess what we used to make it.
This is a day to use the feature keys on your cartridges, or use a cake cartridge to make a papercraft. Thanks for stopping by.
Don't forget to enter your email on the top right to have our daily creations emailed right to you!


Monday, July 18, 2011

My IMAGINE-ation Monday July 18, 2011

Welcome to My IMAGINE-ation Monday where we use our Cricut Imagine Machines to make wonderful crafts.

Amanda, Justina and I have made some great creations to show you today.

Amanda used Imagine More Cartridge

To see how Amanda made this please visit her blog
A memebr of the Design Team used Country Carnival Imagine cartridge to make this altered art album


I made a card for this weekend's Cancer Survivor & Support blog hop. I used the new Cricut Flower Shoppe Cartridge. I have given a very detailed explanation on this. I didn't want to add 30+ pictures to the blog hop, so I am telling you had I made it today :) I have made this so easy for you to make, scroll down on my blog to see how you can make this.

Come back tomorrow to see my Design Team's favorite day, Card Creating Tuesday!
If go to to the column on the right and enter your email where is says,
you will get our creations email to you daily, so you will never miss a thing!

Don't forget to use your IMAGINE-ation today :)

My IMAGINE-ation Monday Project

I have a ton of pictures to show you how I made this card to my mom. We had a blog hop this weekend and I made this card Using my Imagine machine and the new Cricut Flower Shoppe Cartridge and Imagine More Card Cartridge. I used white paper, My Imagine machine, Imagine More Cards Cricut Cartridge, Cricut Flower Shoppe cartridge, my cutting mat adhesive and Misting Pearls! Oh and a set of My Creative Time stamps and Brilliance Inks.

There really was alot to the making of these flowers, so I will show up step by step how to make these and what to do and what to not do :) I learned a few things along the way that I would love to share.

I am going to show you literally step by step how I made this card and more importantly how to make these flowers with the new cartridge. This was a June 2011 release cartridge.
I cut all of these flowers at 2". U filled each of the flowers with the patterns from the Imagine More Cards Cricut cartridge. I did use the Lori's Garden Imagine Cricut cartidge to make the paper behind the 'glass vase' which is actually a acrylic jar from Peachy Keen Stamps. I used the brilliance inks to rub into the little cut lines that are on the 'glass' jar. then i wiped the excess ink off, so it only showed in the groves. This left a little smudge of color all over on the 'glass.' I had wanted to remove ALL of the ink that was not in the grooves.... but it worked perfect and made it seem like it was an old 'glass.' The silliest mistakes make the best projects. So here we go...

I cut all of the pieces for the flowers first. They were cut at 2" for the first flower on this mat I cut 10 of the individual petals. You have to actually look at the sample in the handbook, count the petals to know how many to cut out. I went through and put the number of how many petals I need on the page, so I don't have to count it each time.

While the cut out are still on my mat, I ink them there, less mess on my hands and more even color. I used the Brilliance inks, the Olive, Blue, and Desert Sand.

On these i inked the pink one to look like the color at the throat of flowers (darker toward the middle) for the ones with the olive ink, i wanted to make the tips darker. The blue ink was put at the tips.

You can see where I removed one, but on the purple ones, i inked the tips and down the middle so you can see how the purple one is inked to look like a pansy,that is what it looks like flat, but it will change when it is assembled. I inked the tips of the newprint petals and the tips of the blue ones. On the pink and blue circular images, i inked them, but with how they are cut it perfectly inked the edges of these more than the other parts of them, perfect for what i was looking for. Those will become the middle of the flowers.

Here is what they looked like when I removed the white that was left over after the cricut cut the pieces out.

Same thing here when the extra white is removed.

Here is the other page with the cut outs inked and white removed.

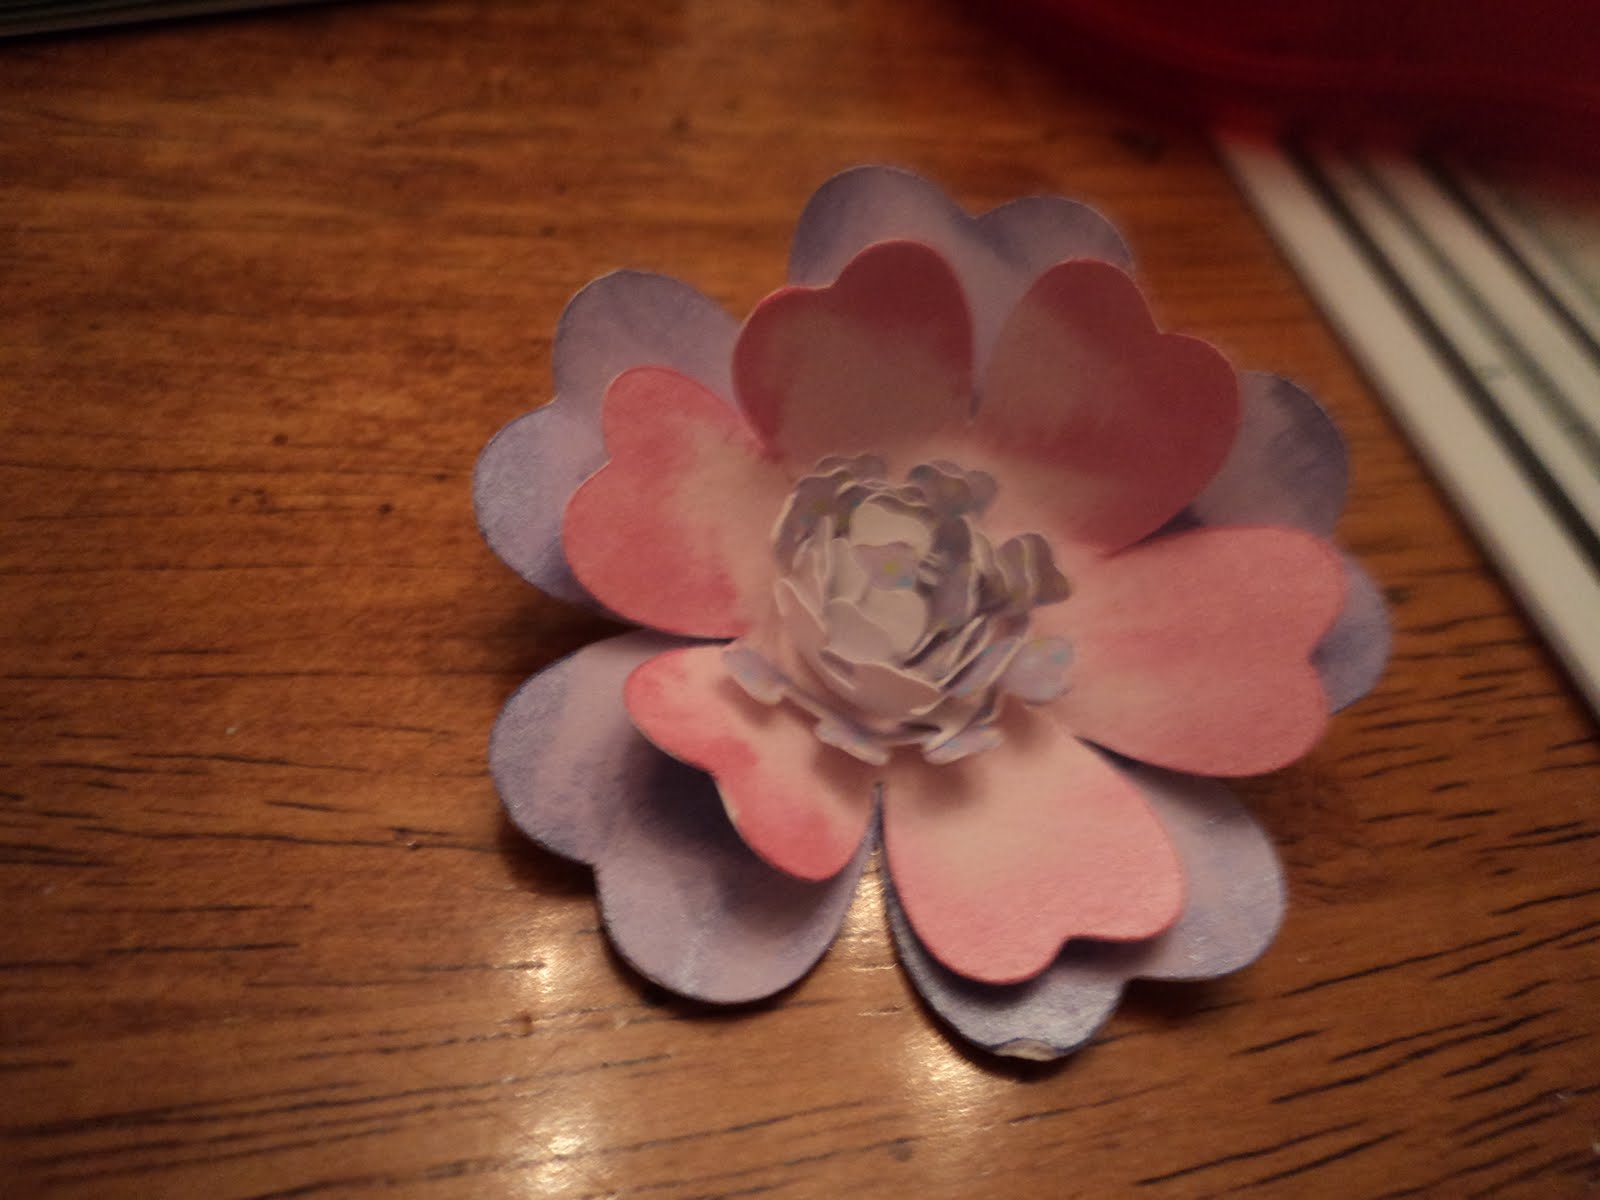
Here is the first flower that I attempted... they got better as I went.
The first thing i had to do was to choose colors and i wanted purple then pink, then purple then pink. You have to look at the colors in the book and how they correspond to the colors you want to use and how they are placed together. I counted 5 petals. Basically the flowers all have 4 'layers' to them.
 The center, the coiled part on the picture there are pictures. I set me cut outs below the book so I know where things go, this really helped help the colors and what goes where.
I took the middle and used 3 glue dots to secure this down, I am a person of more adhesive is better :)

Here is the purple with my ink job, it looks rough here, but ended up perfect.
 I creased the flower in between each petal and then down the middle of the petal.
To help turn flat paper into a pretty flower.

Here is layer one, two and three.
If you were to look at the book there are images in four quadrants, and how I put these together, they followed a pattern of the top row going left to right, then down then left.... to make it easy.....
1   2
4   3
So the numbers correspond the the images on the handbook, and then from the top (middle coil) to the layer below it then the next layer then he final layer. I found it best to go in this order when assembling them.
The layer that corresponds with my #4 as above. You need to count how many of that color is in the sample. So count them in the sample so you know how many to cut.

You can see how I used glue dots to apply the individual petals to the flower.

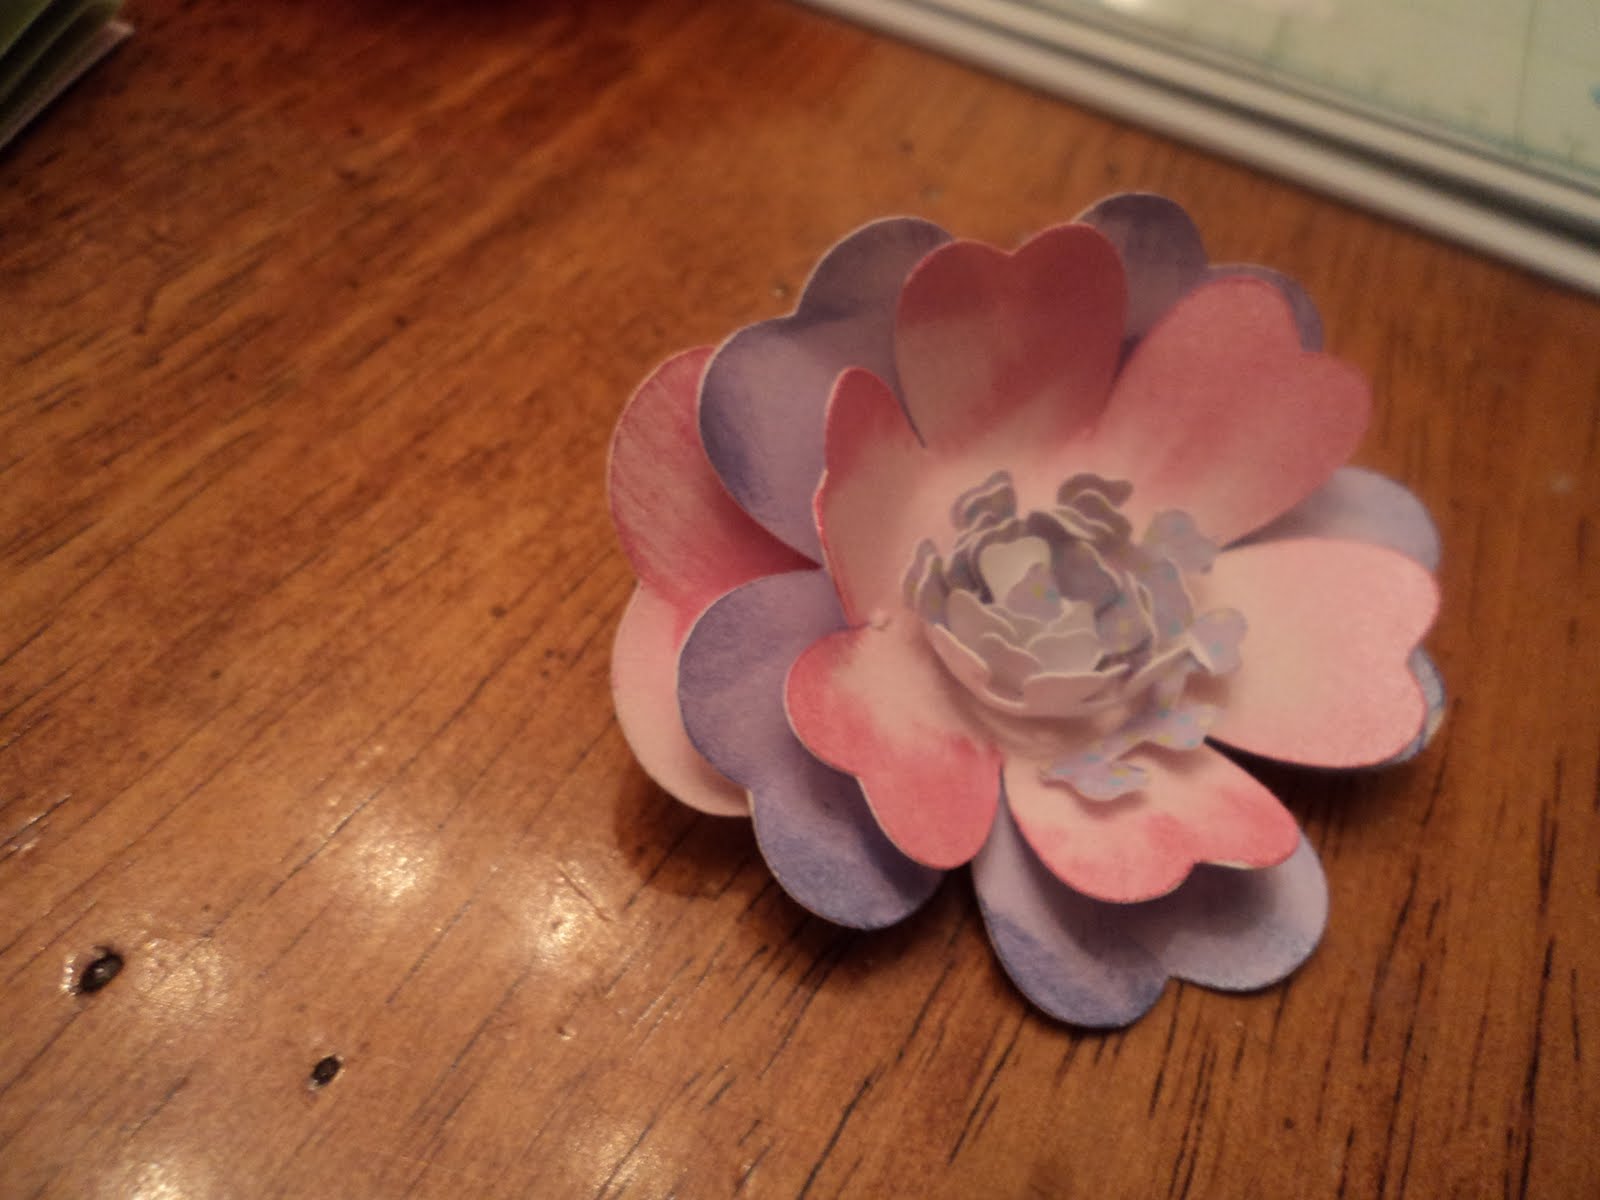
Here is it!

Now you can see how it looks like the book and how the colors coordinate to the sample.


So I found the middles to be slightly difficult, but after two they were very easy. So after you do one or two you should be a master too! There is a circular dot in the middle of each coil. The circular dot is the base then you wrap the rest of the coil around going to the outside of the first dot, your colored side of the paper should face IN. as you can see the white facing out in this picture.

Here is the top view of the coil.
I used a glut dot to secure this tail end to the circle. I made sure when it was put together before adding the glue dot to secure it, i let the coil a little bit loose,t hat way i was able to take my thumb and sort of fan the little pieces outward, so it made it a little softer and opened up.

Here was another one that I laid out like the book, and then i knew what color went where. This made it very easy to put together and see how many of the individual petals.

Here is the center of the next flower. You can see the actual little dot in the middle of this and you can see how I sort of feathered this out so it is not super tight.

I then put a glue dot on the bottom of the dot of the base of the flower center.

here i layer #2

Then here is all of the petals added to the back of the flower.

Here is the back side of what the flower looked like together.

Here is my flower next to the flower in the book.

Here is my little collection of flower. I know which ones I really like, and I can take the centers of the ones I really like, with petals of another.... this is great to really make these flowers original.

My Flower garden.

Here was my finished card with my flowers on it. you can see how I took the center off of the one flower, attached a cancer ribbon and then put the center back on it.

All of these papers were from the Imagine More Cards Cricut Cartridge

This sentiment is from Pain, Pain go away, My Creative Time stamps. I used lavender Brilliance inks. the pink is paper printed on the imagine, so it the blue. The purple is actually the same paper from the jar, but with the purple ink used in the flower and the sentiment.

This script paper is from the Lori's Garden Cricut Imagine Cartridge. I just printed a 12x12 piece of paper. I then put the 'glass' jar on the paper, traced it with a pencil. then I put it through the Xyron sticker maker to cover the entire piece of paper in adhesive.

I used the same paper from the jar and used lavender Brilliance Ink and cut them maybe at 1/4" wide. i just eye balled it and cut them thin on my
Your Story Trimmer (which is my favorite paper cutter I have ever used) Some of you ask what my favorite trimmer is, question answered.

I added a little bling to the middle of the flower and used 'frost' shimmer spray to finish this off.

You can see how i folded the newprint paper between each petal and down the middle of each one,
 to give it a life-like look.

Here is where i tried to sneak in the ribbon for my mom. I am actually sending this card to her and she has her appointment this week to find out her prognosis with her cancer. Say prayers on July 19, 2011 please.

I used the blue pattern on the imagine to make my card. I usually buy the premade cards and then decorate them, but this one was special, so, so was my paper.

I hope you enjoyed this and have a chance to check out what my design team has made with their Imagine machines also!