Craftsy Unlimited FREE 7 day trial at Craftsy.com
Happy Cloud Quilt Batting by Fat Quarter Shop
Cricut is Easy as 123
Loralie Designs
Showing posts with label Cricut Design Space. Show all posts

Wednesday, November 19, 2014

Wednesday November 19, 2014 with My Cricut Craft Room and Design Team- Teens and FREE SVG


Wednesday November 19, 2014 with My Cricut Craft Room and Design Team-  Teens

Lynn used an image from the Summer Celebrations cartridge in Cricut Design Space to create this teen inspired card. For more information on how it was made please visit her blog by clicking here.


Jen Goode shows us how to add a little inspiration to a teen girl's room with our Cricut machine and decor vinyl. Plus you can grab a free SVG to make this project! Check out Jen's tutorial here.


Tuesday, November 4, 2014

Tuesday November 4, 2014 with My Cricut Craft Room and Design Team- Everyday Theme


Tuesday November 4, 2014 with My Cricut Craft Room and Design Team- Everyday Theme

Lynn made this card using a flower from the Don Juan cartridge in Design Space. 
To see more please visit her blog here.


Jen Goode shares how to make your own custom designed embossing plates. 
All you need is your Cricut Cutting Machine and your creativity. Read the full tutorial here.


Saturday, October 18, 2014

Minnie, Mickey and Me Blog Hop


Thank you for joining us on My Cricut Craft Room's Minnie, Mickey and Me Blog Hop

Today I made a Mini Album to share with you today.

I made a super simple mini album that I think anyone can make...
Here is the Design Space file that you can use to make it yourself.

https://us.cricut.com/design/#/canvas/project/21352225
The characters are all from the Mickey and Friends Cricut Cartridge.
The characters are cut at about 4 inches. The titles are all 1 1/2 inches.
Then I just cut 4x6 rectangles in each color and offset them from each other.

 THen I went through and really  "DRESSED UP" this mini album.... Check back here on Monday to see how simple embellishments can take a simple project into a SIMPLY BEAUTIFUL project! 


Come back on monday to see how I "DRESSED UP" this mini album....


Next you will go to Rebecca's Blog 


Start
7.  Craft Lovers Come Here- http://CraftLoversComeHere.blogspot.com 

Friday, October 17, 2014

Friday October 17, 2014 with My Cricut Craft Room and Design Team- Guy theme


Friday October 17, 2014 with My Cricut Craft Room and Design Team- Guy theme


Have you ever watched the show Finding Bigfoot on Animal Planet?  Cheesy I know!  It's all in good fun, and good for a laugh don't you think? It also gave me the inspiration for my latest project theme, "Guys"!

 Here it is!  A Bigfoot birthday spinner birthday card for that special BIG guy!  On the front of the card, Bigfoot will spin his way from one hiding place to another.  He really does spin wildly! On the inside it will say, Happy Birthday. I used my Cricut Explore machine and Cricut Design Space for everything in this project.

Materials needed:
Cardstock of your choice
Cricut cutting machine
A penny
Foam Dots
Glue


I used the new print then cut feature on my Cricut Explore to cut out the big guy and the trees.
 I  started by inserting the bigfoot image from the Camping Critters cartridge, and the tree images from the Everyday Pop Up Cards, and Wildcard cartridges, into Design Space.  Using the new flatten feature, I then flattened images, enabling them to print out on my printer, and sized each piece.  I printed them out on white cardstock, and then placed the cardstock with the printed images on the cutting mat, loaded them into the Explore, where they were cut out. See below. Isn't this a new fantastic feature?  They turned out so well!


Next, I sized a greeting card image from the Just Because cartridge. But you can use any card image that you have. I used a card image that had a score line already in place. I then added 2 square images, a square for the background of the spinner face, in red, and a square for the foreground of the spinner face, which is brown.  I sized the red square a little smaller than the front of the folded greeting card, seen in green below, and the brown square a little smaller than the red square. I used the slice feature to cut a horizontal window in both squares for the spinner piece to sit in.  I then folded the large card in half(the green cardstock) and then glued each square with the window to each other. The brown square sits on top of the red. Line up the little windows exactly so the spinner will spin freely. I then folded the green cardstock in half, on the scored line.

To create the slider, I used a penny, and placed the foam dot on one side of the penny.  I then placed my Bigfoot on top of the foam dot.  The foam dots are sticky on both sides. 

I also placed foam dots on the back of the square cardstock with the slider window (the brown and the red squares have been glued to each other, you can't see the brown square) so that the slider can move freely form one end to the other.  You can see in this picture that the slider is already in the  slider window.   

Next, I turned the square cardstock with the slider over, and placed it on the front of the greeting card.  Press gently so that the foam dots adhere to the front of the greeting card.  Place foam dots on the trees, making sure that the slider figure can slide easily past the foam dots, and not get caught up on them. 

Add a sentiment to the front of the card.  I used the write feature on the Explore to do this. The font I used was Simple Celerations.  I used a black pen. The front the card is now finished and your little image should be able to slide and spin from side to side.

Open the card so you can see the inside. The inside of the card says "Happy Birthday" but you can use any type of sentiment that you want.  I used the print then cut feature to cut out another Bigfoot, and used the grass image from the Wildcard cartride to make it look like Bigfoot was running though the swamp.


That's it.  You have a nifty spinner card.  Click on the link below to see it in action.

https://www.facebook.com/video.php?v=10204130071364930&l=7208674726061607904


If you are having difficulties making a spinner card, there are many tutorials on youtube that are very helpful.  Just search "spinner card."

And as always, head on over to my Facebook page and become a fan.  I am always doing something fun there!  Go On!  Craft On!


Monday, October 13, 2014

Monday October 13, 2014 with My Cricut Craft Room and Design Team- Baby theme


Monday October 13, 2014 with My Cricut Craft Room and Design Team- Baby theme

Laurie created a scrapbook page to celebrate her grandson's first tooth.  She used the cartridges Artbooking, The First Few Years and B is for Boy along with Pebbles paper to make this layout. 
For details, see the Crafty Sisters Creation blog.


Melissa made these baby cards with her Cricut Explore.
The cartridges used were:
Craft Room Basics- onesie
Wrap it up- stork
Doodlecharms- bottle
Calligraphy Collection- welcome baby
Create a Critter 2- lion
Baby Shower- Baby

To see more information about how she made these, please visit her blog at


Happy Crafting!
-Melissa

Friday October 10, 2014 with My Cricut Craft Room and Design Team- Disney theme


Friday October 10, 2014 with My Cricut Craft Room and Design Team- Disney theme


Dina created a Disney Wall hanging using pooh and Friends and the first few years. to see more visit http://aldinarosedesigns.blogspot.com 


Lynn made a card using an image from the Mickey and Friends Cricut in Design Space. 
To see more details visit her blog, My Cards N Stuff.


Wednesday, October 8, 2014

Wednesday October 8, 2014 with My Cricut Craft Room and Design Team- Showcase a Photo


Wednesday October 8, 2014 with My Cricut Craft Room and Design Team- Showcase a Photo


Today Jen is sharing a quick and easy project to showcase a Photo. Combine a Cricut cut design with a fun background page and make your photos pop! Hop on over to Jen's blog to read more and grab yourself a free cutting file and printable background paper. Visit 100Directions.com


Thursday October 2, 2014 with My Cricut Craft Room and Design Team- Sea Animals


Thursday October 2, 2014 with My Cricut Craft Room and Design Team- Sea Animals

Here is a card that Pam made using Stretch Your Imagination and Life Is A Beach Cricut Cartridges.  Visit P.S. I Love You Paper Arts and Crafts to see how she made this fun card.


It's O-FISH-al! 


I used several different Cricut cartridges for this wreath.  They include Walk in My Garden and Animal Kingdom.  I wrap my wreaths in 2 inch ribbon so no Styrofoam shows through and secure the tulle with pearl head straight pins.  Thanks for checking it out!  - Bethany

Saturday, September 27, 2014

My Cricut Craft Room's School Days Blog Hop


Thank you for joining us on My Cricut Craft Room's School Days Blog Hop


Today I made a Milk Carton to share with you. Using the new 123 Sesame Street Imagine cartridge. You cannot buy it, but you can use it in Cricut Design Space and Cricut Craft Room. I used Cricut Craft Room and my Imagine to print and cut. The milk carton design is a bonus shape on the Notebook Doodles Cricut Imagine Cartridge, then I used 123 Sesame Street to fill in another milk carton.
I also cut Elmo and the 123 Sesame Street sign. 
THe paper Airplane was from Notebook doodles. I just added it to the pictures while Bella and I were experimenting :) Bella is my daughter if you are a new follower to this blog. 


Next you will go to Dawn's Blog 


Start
6. Craft Lovers Come Here- http://CraftLoversComeHere.blogspot.com 
7. Eileen http://www.craftykards.blogspot.com


Please add your email to make sure that you get our email with our Daily projects....

You don't want to miss a thing with the great projects coming up.


Enter your email address:


Delivered by FeedBurner


Tuesday, September 16, 2014

Tuesday September 16, 2014 with My Cricut Craft Room and Design Team - Masculine with Embossing Cards


Tuesday September 16, 2014 with My Cricut Craft Room and Design Team - Masculine with Embossing Cards

Today Laurie from Crafty Sisters Creations is sharing two masculine cards using embossing folders--one for a man and one for a boy!  She used the Art Philosophy and Boys Will Be Boys Cricut cartridges and embossed using her Cuttlebug.  For more details, visit her blog.


Lynn from My Cards 'N Stuff used Cricut Design Space and an image from the Outdoor Man cartridge and two different embossing folders for her card today. For more information on how this card was created visit her blog.


Our upcoming events for you....


Monday, September 8, 2014

Monday September 8, 2013 with My Cricut Craft Room and the Design Team- Camping Theme

Monday September 8, 2013 with My Cricut Craft Room and the Design Team- 
Camping Theme- Rebecca and Charlene


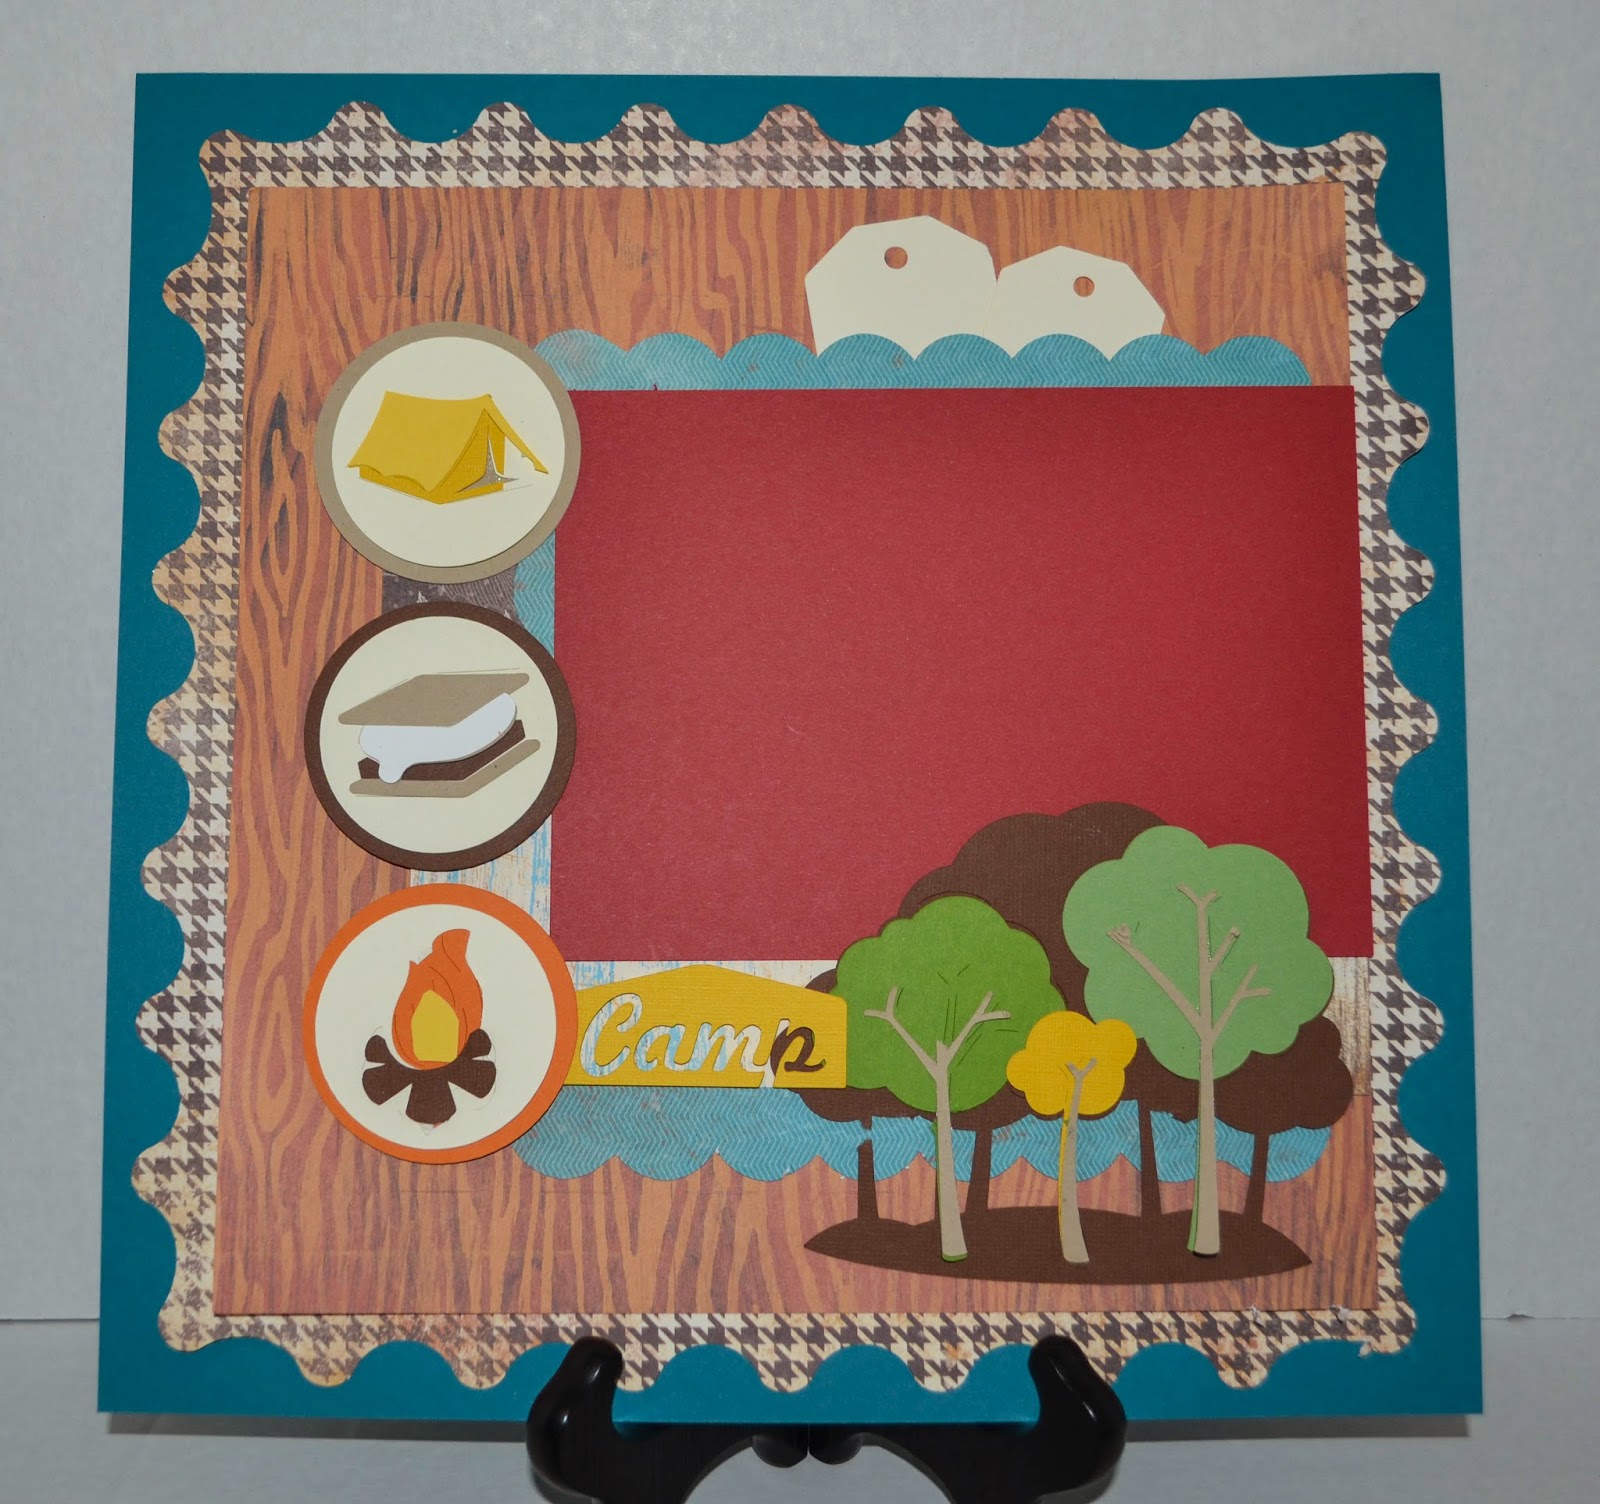
Rebecca used the Campin Critters, Camp Out, and Basic Shapes (Rectangle and Square) to make this page inspired by Camping.

Please go visit her blog to see how she made it @ 


Charlene's post for Monday September 8, 2014

These scrapbook pages were made from paper in the great Outdoors paper pad by g.c.d studies.  The files I used are from treasure box designs collection Happy Campers.  
Its was so much fun to do, I scrap a lot of camping, it's one of our favorite things to do. 


The card and trailer were made with the same paper as the scrapbook pages.
 The files are from svgcuts.com called camp fire fly. 


https://craftmutscreations.blogspot.com