Craftsy Unlimited FREE 7 day trial at Craftsy.com
Happy Cloud Quilt Batting by Fat Quarter Shop
Cricut is Easy as 123
Loralie Designs
Showing posts with label Cricut Flower Shoppe. Show all posts

Tuesday, November 11, 2014

Tuesday November 11, 2014 with My Cricut Craft Room and Design Team- Fall Theme


Tuesday November 11, 2014 with My Cricut Craft Room and Design Team- Fall Theme


Hello everyone!
I made this easel card using mothers day bouquet ,and flower shoppe. 
Have a crafty Day! Hugs, Dina


Tuesday, November 29, 2011

My IMAGINE-ation Monday November 28, 2011


Happy Monday everyone!  I am not sure why this did not post yesterday.... I am very sorry....
This is such a busy week around here!
Thursday starts the 25 Days of Christmas, where you will see 25 different projects a day around here, all made with Cricut cartridges. There are 30 new Seasonal Design Team members just for this 25 Days of Christmas event! My full time design team is suppoed to take it easy.... but you know them.... they are still at it! Great news I have been feeling much better (as if you couldn't tell with all of my new creations) Thank you all for your support and encouragement through this time with me. I am in the process of moving and launching the webstore.... of yeah, and getting ready for Christmas!!!! Yippie only 27 days away! Bella's birthday is only a few days away too! Just want until next weekend when we do our
Princess Bella's Blog hop!

Now on to today's projects!


I made this card and see below to see how I made it....


Jen L used Buccaneer Imagine Cartridge for her Sons Birthday check out the projects she made http://www.mybusycraftylife.blogspot.com/ 


Heather S made wall decals using the Sophisticated Cartridge! Check out her project on her blog at http://www.operationcricutdesign.blogspot.com/


Heather F Created these Gift Bags with Santa's Village on her Imagine, to see how she created these projects visit her blog http://www.papercrafteranonymous.com/


I am sharing this, hopefully it will encourage you to share your work no matter how good or bad it is.... I am sure there will be ONE person out there that might like what you made. Today, I didn't like anything that I made. But I will show you anyway!
Here is how my cards started out.... I started with Santa's Village Cricut Imagine cartridge....
I cut this gable box out and the cute little roof.... Mistake learned (read the book, you need to cut two of these out) I always like to tell you my mistakes so that you do not make them yourself ;)


I still didn't realize that I needed two of these. So I used my Martha Stewart scoring board to score the lines for where the box will fold.

When I realized that I needed two of the first box, I decided to move on to the second box I was going to make. Here is the back after I scored the edges. Do note (this was mistake number two) The window one the left ends up at the BOTTOM of the box, for whatever reason I thought it was at the top where a to: and from: sticker would go. From this view the top is actually the top.

I wanted to have a clear window with some sparkle showing but still have the view to
see the cookies that I was going to put inside.  I used red glitter at first in the top right. Then I pulled out some Martha Stewart Green tinsel. That worked perfect and didn't settle to the bottom like the glitter did. The static of the tinsel kept it right where i wanted it.

Here are the little clear envelopes that I used for my clear 'window' You can also put money, tickets hotel keys and many other keepsakes in these and they seal and already have adhesive on them to seal the envelope and to adhere to what you want it to. The problem for me was I wanted a clear 'window' if I had a window and one side had adhesive it needed something to stick to it. So I took a larger one as your can see in the next photo. I put the two sticky sides onto each other. Therefore the sticky side on the small one faced the inside of the treat bag and the larger one's sticky side faced the front of the card. It had enough extra stickiness to adhere to the paper around the window.... But before I sealed it down to the paper, I slid the ribbon through it so you could feel the ribbon from the outside of the treat bag. I put metal sliders in it to form the word SANTA. I am sorry that you cannot see it well in any of these photos. I showed my second failed project on Ustream.

Here is the ribbon under the plastic.

I then decided to whip something quick up and got out my Flower Shoppe Cricut Cartridge. I used the patterns from the Santa's Village cartridge to fill my shapes from Flower Shop. I usually don't know what my end project will look like.... this is just another example of that. I set out to make a treat box and ended up with a card.... It happens every time. Here are the two ink colors that i used to dull down the bright colors from the Santa's Village cartridge. I wanted to match the My Mind's Eye Lost and Found paper, the embellishments are show on the top right. I used Momento Ink and Versa Magic.

I used ZING! Red glitter embossing powders to jazz up my flowers to match the
bright red glitter from the embellishments.

I do not completely over the flower with color or embossing powder. A real flower is not the same color all over, so why should my paper ones be all one color.

Here is what it looked like after I added some gold glitter embossing powder to a few spots on the flower. I always ink and glitter my pieces before i assemble it. Sometimes this is good and sometimes this is bad.
If you glitter something it is hard for adhesive to stick to it.... but if you ink it after you assemble it, you end up sometimes with color or glitter where you do not want it. I just see where I am going to put the adhesive and make sure that I do not glitter or embossing those spots.

Here are the pieces before I inked them. They were all filled with the Santa's Village paper patterns.

Here you can see where I used the VersaMark PEN to draw on the shapes and then I sprinkled the bronze embossing powder on them.... Remember you can always wipe of embossing powder if it is in the wrong place, but you must do this before you heat it.

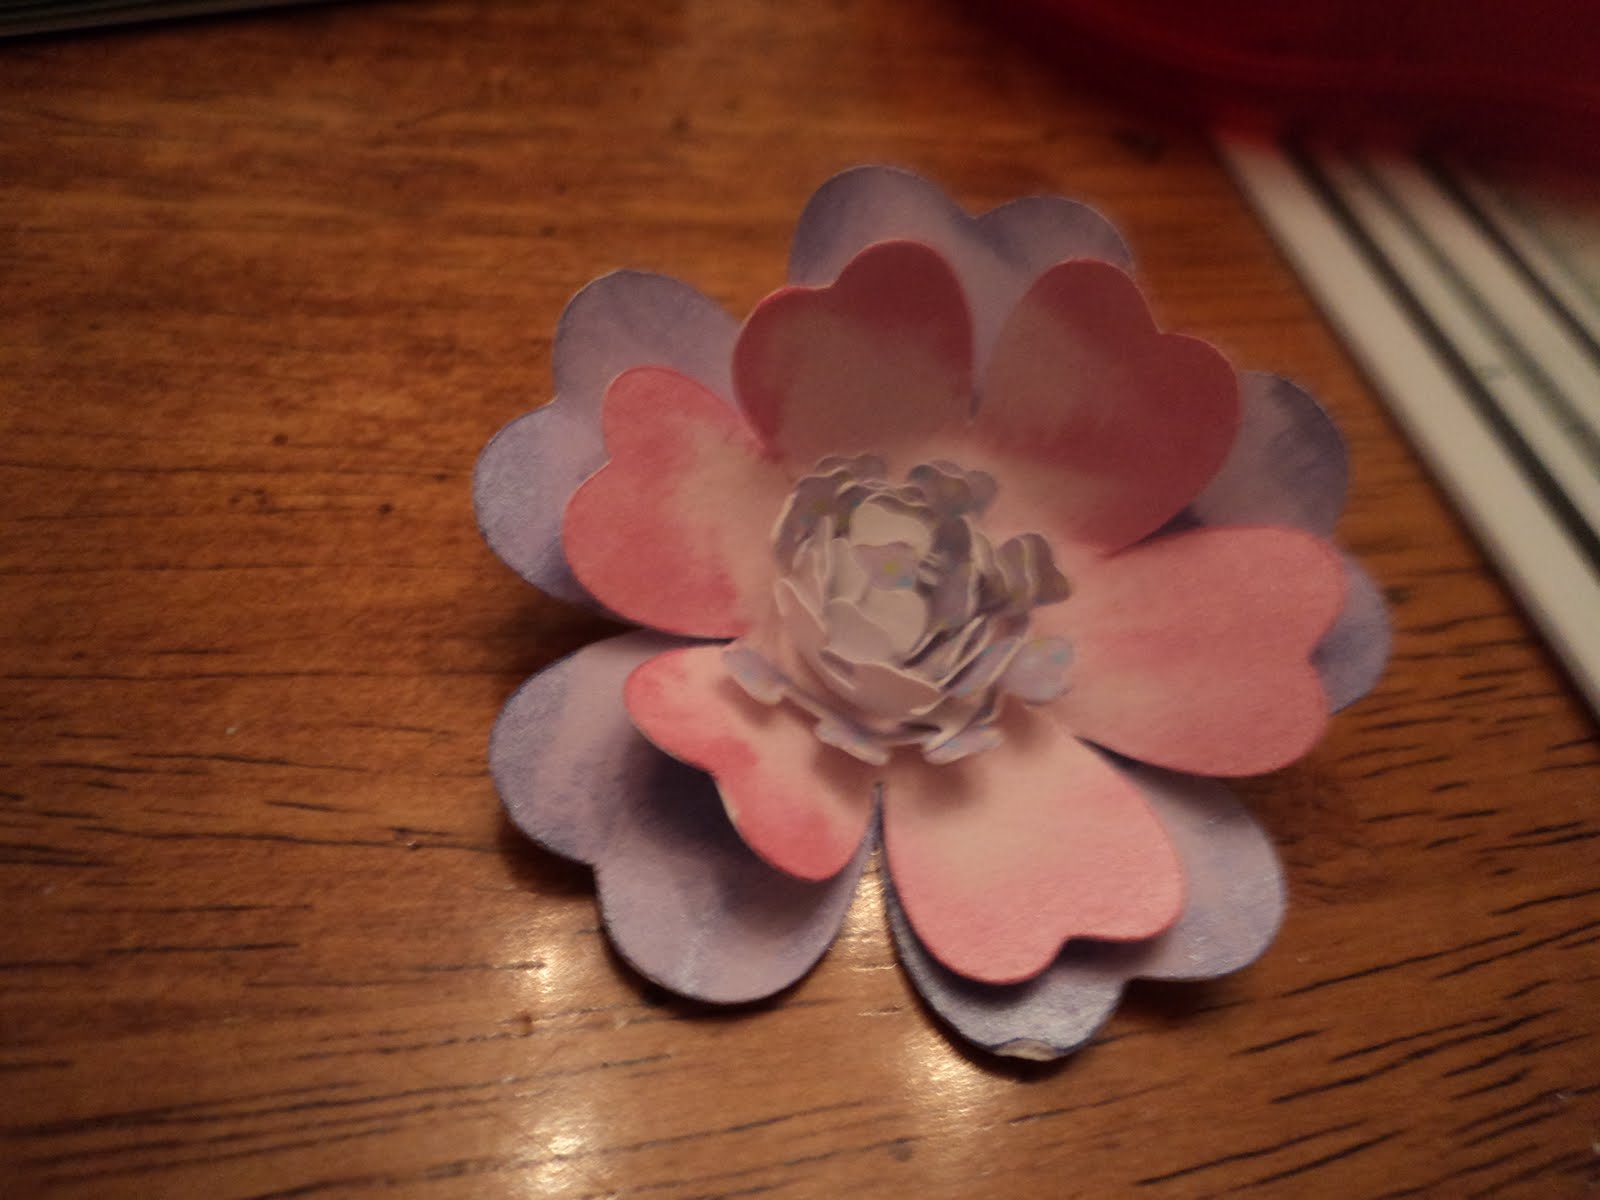
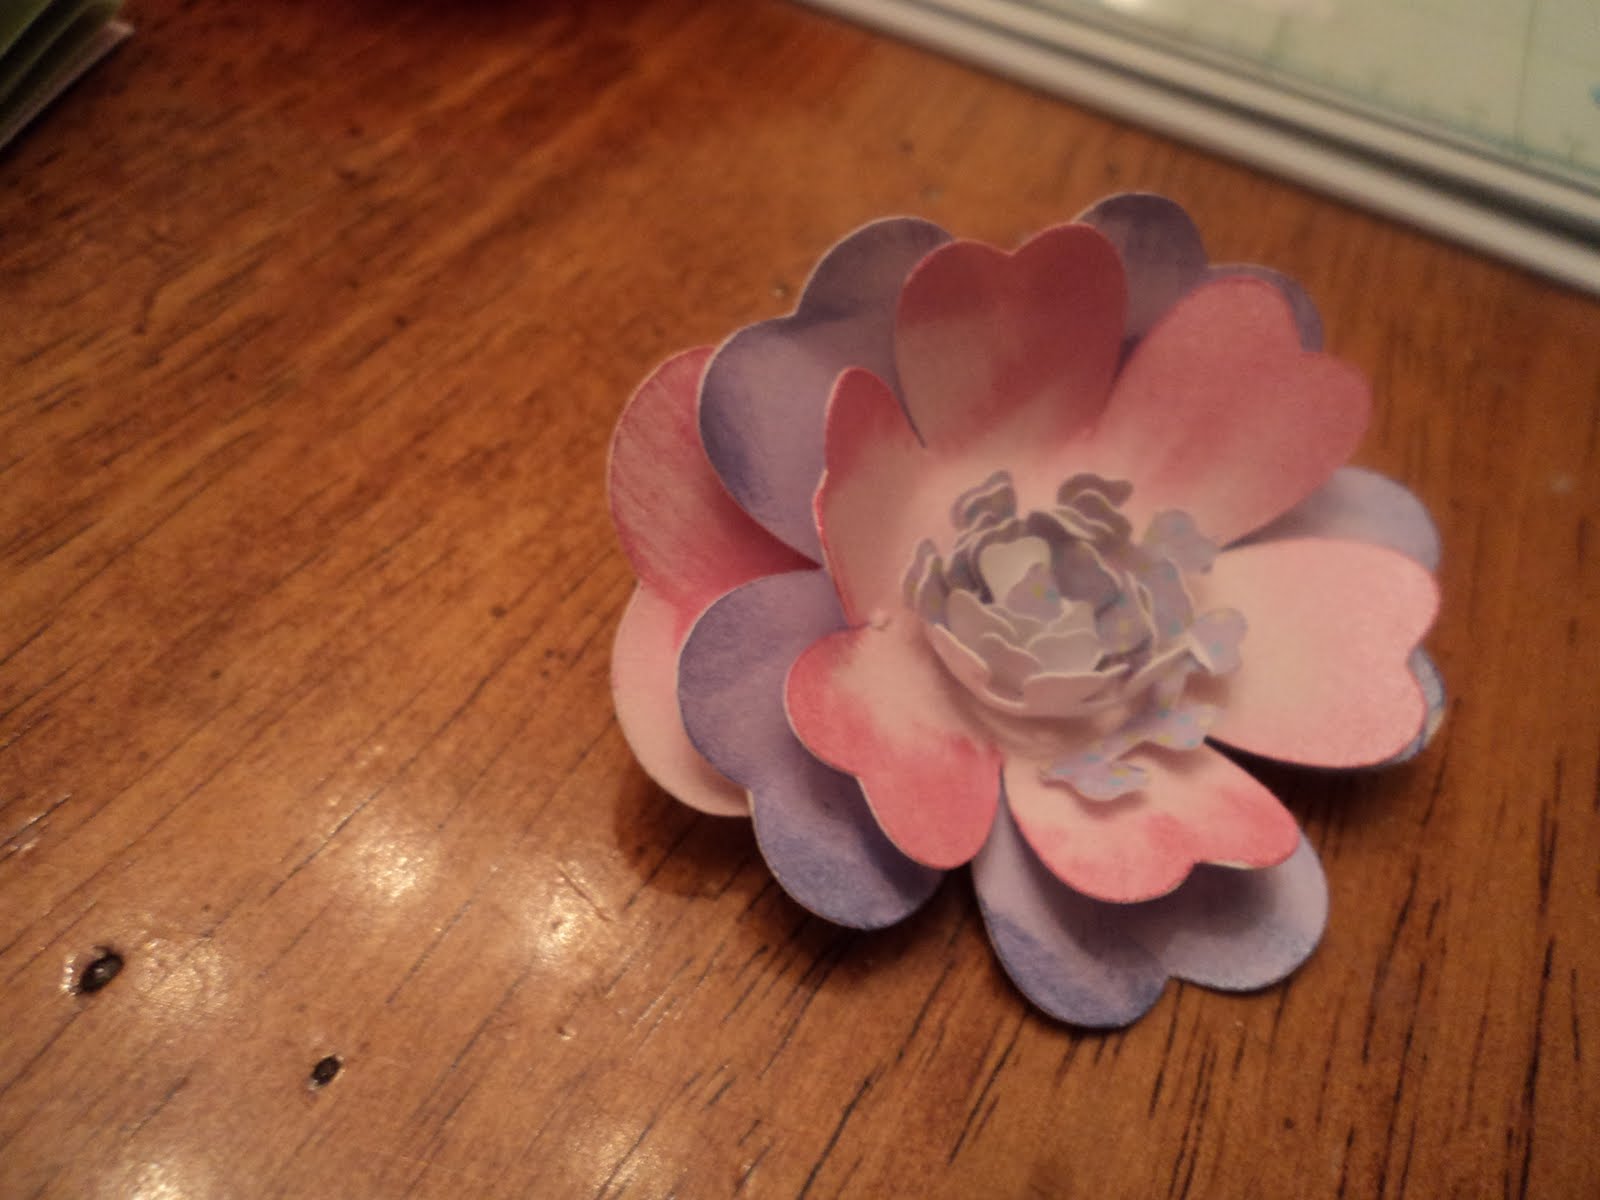
Here are the flowers when I put them together. I cut random images from flower shoppe at 2" and 3"
I always cut my flowers at 2" and 3" so I never have to think about it. A side note I always cut my characters at 4" again so there is no thought to what size I made an old project from.

Here is a flower with the embossing powder ALL over it. In the next picture you can see where I wiped the powders off BEFORE I heated it. This way it gives it a nice different look.

Here is the finished set after I heated the embossing powders.

Here is the card before I put the flowers on it. For whatever reason I did not like any of these flowers...

In the end I put these flowers on the card and called it a day!

Here is that treat box I was telling you about that the words Santa are upside down.

Here it is from the side view.... hopefully it plays a trick on your mind and
you don't realize that it is upside down (let's keep that our little secret)


Don't forget to "like" my new facebook page.
I will be moving away from the Cricut Craft Room facebook on January 1, 2012

Monday, November 7, 2011

My IMAGINE-ation Monday November 7, 2011

I love my Cricut Imagine, but I know there have been many problems with the update lately, and I realized that there are not that many people who own the Imagine machine.
On that note, I have decided to also add to Mondays some new tips and techniques. So hopefully next week or the following week, you will start to see some of these. Also I have decided to add Scrapbook pages to what we already do on Wednesdays. So there will be more projects and a wider variety of Ideas & Inspiration for you all. Coming very soon....


Here are today's wonderful creations from the design team and their Imagine or E2 machines!


Jenny R used Baby Boutique and Imagine More.
For details her blog is http://myimagitivity.blogspot.com


Lezlye used Imagine More Cards.


Amanda used Industrial Glow for the imagine for all the cuts. She also used home decor and flower shoppe.


Suzys Crafts used Baby Boutique.


SEASONAL DESIGN TEAM CALL


Many of you know in JANUARY I will be having a design team call and taking about 15 new members. But for right now I am looking for a few members to have for a December 1-December 25th SEASONAL term. The first 25 days in December I will be showcasing 25 projects a DAY. So I need alot of help with that. So I am looking for about 50 people to be involved in that (in addition to my existing Design Team). You would then be responsible for posting AT LEAST one project a week in December.
To help you all with that.... those of you who are on the design team or are thinking of applying for the seasonal team OR the permanent team in January. I am offering you a Design Team Discount to help you out.
You may take advantage of this ONE TIME discount. You do NOT have to order anything and you do NOT have to use these stamps when you try out. But this is to help you if you would like a one time discount to help you try out for January Design Team call or this seasonal design team call....I will be placing a Peachy Keen and Pink by Design Stamp order for my local scrapbook shop and you may take advantage of this ONE TIME discount to help you. I will forward you to the blog for this that will have all of the details about ordering and paying for these items .... Tomorrow. It will be the 25 Days of Christmas Seasonal Design Team. Here are the details for the Order and seasonal design team call


Tuesday, August 9, 2011

Card Creating Tuesday August 9, 2011

Welcome to the Augsut 9th Edition of Card Creating Tuesday!
This is BY FAR my design team's favorite day of the week!
They have made several great things to share with you.
Tomorrow I will be featured on My Creative Time! I am so excited to show you what I have made for that!

But first my little Cricut tip of the day.....
Have beautiful paper that you dont want to ruin making sure that you get it to cut in the right place?
I have a tip for doing what I call STAGING the mat. This is my own word so other people might call it something different...... I start by turning on my machine, selecting the size that I want to use, then pressing the buttons that I want to cut.... then the next ones using the feature keys... so i might have up to 8 shapes selected to cut, i then put cheap cardstock or plain white paper from my printer on the cutting mat (Not suggested with the super sticky older styly mats) I then load my paper, select cut. I then unload my mat after it has cut everything. I then remove only the actual shape that I want to cut out. So my white paper should be on the mat but it should look like cookie dough after you have cut all of the shapes out, this is what is left ater you put the 'cookie cut outs' on the pan. So I have white paper with 'shapes' cut out of it. I then lightly lift on shape at a time and slip the actual paper color that i want to use under the white, i now have a hole so I can line up my paper exactly where i want it. Repeat this until you have all of your colors right where you want them..... Then remove the white outline paper and then double check that your paper is secure. Then load the mat and touch ONLY "Repeat last" then cut.
You should have perfectly lined up shapes.
     If yout paper seems to slide off or move when cut, it means that the peice of paper was not stuck down well enough OR possibly you used a small peice of paper so when the blade went to cut it, it was so little and didnt have enough surface to stick to your mat. Try again with a larger peice of paper. Also make sure that you use the scrapper tool to 'scratch' the surface of the mat before appling any paper. This will help a not so sticky mat become stichy again. Don't worry Provo-Craft knows that many people do not like the new (not very sticky) mats. They have come up with a new adhesive, which will be used on the mats for the new Cricut Mini coming out in November.... we might see the new adhesive used on mats before then. I personally thing that they come up with these (not so sticky) mats because I know with the super sticky ones, i tore many a peices of paper trying to get it off of the mat, so they must have listened to people  like me who wanted a less sticky mat so that we werent ruining paper when we took it off of the mat. That is only MY opinion.
     So are wondering why we have so many creations each day???? Well this is crafting and in Arts/crafts everyone has different tastes and talent levels. I can think one thing is beautiful, but maybe not my cup of tea, but I am sure it is perfect for someone else. Well we give you many options each day, so hopefully every day of the week you will find somehting you LOVE and want to follow their blog too! So here's to you and my wonderful talented Design Team!

And on to the cards for today.....

Melissa used Damask Decor and Flower Shoppe Cricut Cartridges. Make sure you stop by her blog to see how she made this.... She is just getting into Cricut things and is my Sisiter-In-Law and is really learning fast and well!
Samantha used the Wild Card Cricut Cartridge to make this....
Make sure to stop by her blog to see everything that she makes...  http://samanthascricutcreations.blogspot.com/

Laura used the Paper Lace Cricut Cartridge, and this is her first project for the Team, please try to leave her some encouraging comments on her blog. http://laurascraftsandmore.blogspot.com/


Madison used the Sweethearts Cricut Cartridge, make sure to stop by her blog to see how crafty and talented she is http://funkycards.blogspot.com
Pat used the Wrap it Up Cricut Cartridge to make this card. Make sure to stop by her blog to see how she made this and so many other things. http://micraftygal.blogspot.com
Audrey (scrappy EMT) has made a great card to share with you today. . She used the Straight from the Nest Cartridge please stop by her blog to see hwo she made this http://www.scrappyemt.blogspot.com/


Dont forget to come back tomorrow to see what I have made for My Creative Time!!!!
I am so excited!!!! Have a great day.

Monday, July 18, 2011

My IMAGINE-ation Monday July 18, 2011

Welcome to My IMAGINE-ation Monday where we use our Cricut Imagine Machines to make wonderful crafts.

Amanda, Justina and I have made some great creations to show you today.

Amanda used Imagine More Cartridge

To see how Amanda made this please visit her blog
A memebr of the Design Team used Country Carnival Imagine cartridge to make this altered art album


I made a card for this weekend's Cancer Survivor & Support blog hop. I used the new Cricut Flower Shoppe Cartridge. I have given a very detailed explanation on this. I didn't want to add 30+ pictures to the blog hop, so I am telling you had I made it today :) I have made this so easy for you to make, scroll down on my blog to see how you can make this.

Come back tomorrow to see my Design Team's favorite day, Card Creating Tuesday!
If go to to the column on the right and enter your email where is says,
you will get our creations email to you daily, so you will never miss a thing!

Don't forget to use your IMAGINE-ation today :)

My IMAGINE-ation Monday Project

I have a ton of pictures to show you how I made this card to my mom. We had a blog hop this weekend and I made this card Using my Imagine machine and the new Cricut Flower Shoppe Cartridge and Imagine More Card Cartridge. I used white paper, My Imagine machine, Imagine More Cards Cricut Cartridge, Cricut Flower Shoppe cartridge, my cutting mat adhesive and Misting Pearls! Oh and a set of My Creative Time stamps and Brilliance Inks.

There really was alot to the making of these flowers, so I will show up step by step how to make these and what to do and what to not do :) I learned a few things along the way that I would love to share.

I am going to show you literally step by step how I made this card and more importantly how to make these flowers with the new cartridge. This was a June 2011 release cartridge.
I cut all of these flowers at 2". U filled each of the flowers with the patterns from the Imagine More Cards Cricut cartridge. I did use the Lori's Garden Imagine Cricut cartidge to make the paper behind the 'glass vase' which is actually a acrylic jar from Peachy Keen Stamps. I used the brilliance inks to rub into the little cut lines that are on the 'glass' jar. then i wiped the excess ink off, so it only showed in the groves. This left a little smudge of color all over on the 'glass.' I had wanted to remove ALL of the ink that was not in the grooves.... but it worked perfect and made it seem like it was an old 'glass.' The silliest mistakes make the best projects. So here we go...

I cut all of the pieces for the flowers first. They were cut at 2" for the first flower on this mat I cut 10 of the individual petals. You have to actually look at the sample in the handbook, count the petals to know how many to cut out. I went through and put the number of how many petals I need on the page, so I don't have to count it each time.

While the cut out are still on my mat, I ink them there, less mess on my hands and more even color. I used the Brilliance inks, the Olive, Blue, and Desert Sand.

On these i inked the pink one to look like the color at the throat of flowers (darker toward the middle) for the ones with the olive ink, i wanted to make the tips darker. The blue ink was put at the tips.

You can see where I removed one, but on the purple ones, i inked the tips and down the middle so you can see how the purple one is inked to look like a pansy,that is what it looks like flat, but it will change when it is assembled. I inked the tips of the newprint petals and the tips of the blue ones. On the pink and blue circular images, i inked them, but with how they are cut it perfectly inked the edges of these more than the other parts of them, perfect for what i was looking for. Those will become the middle of the flowers.

Here is what they looked like when I removed the white that was left over after the cricut cut the pieces out.

Same thing here when the extra white is removed.

Here is the other page with the cut outs inked and white removed.

Here is the first flower that I attempted... they got better as I went.
The first thing i had to do was to choose colors and i wanted purple then pink, then purple then pink. You have to look at the colors in the book and how they correspond to the colors you want to use and how they are placed together. I counted 5 petals. Basically the flowers all have 4 'layers' to them.
 The center, the coiled part on the picture there are pictures. I set me cut outs below the book so I know where things go, this really helped help the colors and what goes where.
I took the middle and used 3 glue dots to secure this down, I am a person of more adhesive is better :)

Here is the purple with my ink job, it looks rough here, but ended up perfect.
 I creased the flower in between each petal and then down the middle of the petal.
To help turn flat paper into a pretty flower.

Here is layer one, two and three.
If you were to look at the book there are images in four quadrants, and how I put these together, they followed a pattern of the top row going left to right, then down then left.... to make it easy.....
1   2
4   3
So the numbers correspond the the images on the handbook, and then from the top (middle coil) to the layer below it then the next layer then he final layer. I found it best to go in this order when assembling them.
The layer that corresponds with my #4 as above. You need to count how many of that color is in the sample. So count them in the sample so you know how many to cut.

You can see how I used glue dots to apply the individual petals to the flower.

Here is it!

Now you can see how it looks like the book and how the colors coordinate to the sample.


So I found the middles to be slightly difficult, but after two they were very easy. So after you do one or two you should be a master too! There is a circular dot in the middle of each coil. The circular dot is the base then you wrap the rest of the coil around going to the outside of the first dot, your colored side of the paper should face IN. as you can see the white facing out in this picture.

Here is the top view of the coil.
I used a glut dot to secure this tail end to the circle. I made sure when it was put together before adding the glue dot to secure it, i let the coil a little bit loose,t hat way i was able to take my thumb and sort of fan the little pieces outward, so it made it a little softer and opened up.

Here was another one that I laid out like the book, and then i knew what color went where. This made it very easy to put together and see how many of the individual petals.

Here is the center of the next flower. You can see the actual little dot in the middle of this and you can see how I sort of feathered this out so it is not super tight.

I then put a glue dot on the bottom of the dot of the base of the flower center.

here i layer #2

Then here is all of the petals added to the back of the flower.

Here is the back side of what the flower looked like together.

Here is my flower next to the flower in the book.

Here is my little collection of flower. I know which ones I really like, and I can take the centers of the ones I really like, with petals of another.... this is great to really make these flowers original.

My Flower garden.

Here was my finished card with my flowers on it. you can see how I took the center off of the one flower, attached a cancer ribbon and then put the center back on it.

All of these papers were from the Imagine More Cards Cricut Cartridge

This sentiment is from Pain, Pain go away, My Creative Time stamps. I used lavender Brilliance inks. the pink is paper printed on the imagine, so it the blue. The purple is actually the same paper from the jar, but with the purple ink used in the flower and the sentiment.

This script paper is from the Lori's Garden Cricut Imagine Cartridge. I just printed a 12x12 piece of paper. I then put the 'glass' jar on the paper, traced it with a pencil. then I put it through the Xyron sticker maker to cover the entire piece of paper in adhesive.

I used the same paper from the jar and used lavender Brilliance Ink and cut them maybe at 1/4" wide. i just eye balled it and cut them thin on my
Your Story Trimmer (which is my favorite paper cutter I have ever used) Some of you ask what my favorite trimmer is, question answered.

I added a little bling to the middle of the flower and used 'frost' shimmer spray to finish this off.

You can see how i folded the newprint paper between each petal and down the middle of each one,
 to give it a life-like look.

Here is where i tried to sneak in the ribbon for my mom. I am actually sending this card to her and she has her appointment this week to find out her prognosis with her cancer. Say prayers on July 19, 2011 please.

I used the blue pattern on the imagine to make my card. I usually buy the premade cards and then decorate them, but this one was special, so, so was my paper.

I hope you enjoyed this and have a chance to check out what my design team has made with their Imagine machines also!