Craftsy Unlimited FREE 7 day trial at Craftsy.com
Happy Cloud Quilt Batting by Fat Quarter Shop
Cricut is Easy as 123
Loralie Designs
Showing posts with label Home Accents. Show all posts

Monday, May 13, 2013

What Can My Mind Design Monday May 13, 2013 - Using 3 frogs in a project


Today's Theme was to use 3 frogs in a project... 
Here is what we made...

I used Create a Critter 2 to make this. My frog was cut at 3" and the phrase was cut to match. 
This is My Mind's Eye Kate and Co. paper.


I used yellow and gold stickles and Daffodil liquid pearls for the detail.


I used White Liquid pearls for the dots. Gold Stickles for the heart and trim.


Just more detailing of the cat tail. 


Here is my cute frog... don't be afraid to use patterned paper for a character! 


Here is what the inside looks like. 


Almost a solid color to write your message on.


Kathy U. used Cricut Cartridges- Home Accents, Create A Critter, Paper Doll Dress Up and Gypsy Wonderings.
For information on how she made this layout please visit her blog.
http://kathy213-kathyscorner.blogspot.com/


Make sure to visit

580538_Holiday Banner 468 x 60


Wednesday, January 2, 2013

WYEGW January 2, 2013- Use various fonts


Today the Design team used various fonts for their projects.... 
I am working on a tutorial for you each day.... 
Today's tutorial is a sample of something I am making to share with all of you....


Happy New Year to you all!

This is a year full of surprises and many new and wonderful changes

This is now ONLY a blog there is no business or store attached to this any longer.... 
So just a bunch of Cricut Creating fun!!! 


DESIGN TEAM CALL!!!!

A spot on this design team could be a great opportunity for people to see your projects each week. This term is February to the end of August.

As a part of the team, you will need to make one post a week on your blog in correlation with my blog. You will also need to participate in our 100 Cricut cartridge blog hop the first full weekend of each month. You will get a blinkie for your blog and your blinkie (if you have one) will go on my blog here. The group of ladies are so great, talented and helpful.

I am looking for a few beginners, a few intermediate and a few highly talented people. The main thing that I am looking for is for you to show your work and give a detailed description so anyone can replicate your project no matter how simple or advanced your project is.

The general rules of my blog and facebook are to share in a positive way. We promote the use of Cricut cartridges and no SVG images. I also like you to use actual stamps and not digi stamps.

To apply please email me ContactErica@aol.com

Please put the subject DESIGN TEAM CALL if you do not put that as the subject I will probably miss it.


Please include:


1. Your name
2. What country and time zone you live in
3. Blog address (you have to have a blog, feel free to create one)
4. A link to your favorite project you have made
5. Your project must use cricut cartridges.
6. List any other design teams if you are on one or have been on.
7. Then tell me why you would love to me on my design team!


Best of luck!

Submission deadline is Sunday, January 13, 2012 11:59pm PST
No late applications can be accepted.


Mary used fonts from Winter Wonderland, Calligraphy Collection, Paper Lace and Home Accents for her project today. You can find the details on her blog 


Robin used Cricut Keystone to make her project.  Head on over to her blog to see more details.


Somehow this project was missed on yesterday's post! 

Tami created this festive New Year's card using Celebrate with Flourish and Lacy Labels carts. To see how she made this please visit her blog at: http://www.scrappinrabbitdesigns.blogspot.com/


Here is what I am working on for you.....
Have you ever wondered what each font looks like from various Cricut Cartridges..... 
Well I am making you a help guide :) 
Here is just a sample of it .......and below that some more font help from a tutorial from the past..... 


Here is the old tutorial...

Someone asked about creating a shadow for an item. They wanted to know if they are cutting at 4" for they need to make the shadow larger. I would love to quickly explain this.... I will also tell you what real dial size is, in the process.
First real dial size, what is it and when to use it.
The Cricut is automatically set with real dial size OFF. What this means is that your Cricut will AUTOMATICALLY make your items proportional to your finished size image.
So if you are making Mickey Mouse, I always cut my characters at 4" otherwise the eyes and everything is WAY TOO SMALL. I cut them all at 4" because I will cut a full sheet of each piece. I then keep them in a baggie labeled. So the next time I want one of them, I already have many of the pieces needed. Instead of putting each color of paper each time, and cutting only one from it, then I end up with paper with missing pieces and then they get caught on each other in my scrap drawers.... so I just cut a full sheet of it and then throw the little bit of scraps away.

I used crazy colors for the tutorial I will refer to each layer by the color.

Here is the finished die cut....


Here are all of the individual colors. I have the size set to 4"
The cricut knows to make each item proportional to the finished 4" size. You dont have to do anything, it does it on it's own.


Now this is Real Dial Size ON.... instead of proportionally. The cuts each item at the REAL size.
This is helpful if you want a title or image to be large. In this example if I wanted the star at 4" it would do it. But if I wanted the words at 4" to use for a title or something, I would have to turn REAL DIAL SIZE ON. Then it will cut in the REAL size that I want. Each item here is 4" so you can see how different it is


Here is how i would cut the images out and use a full sheet of card stock and have some of the die cut ready for the next time I need it.


Do you have trouble with adhesive on the tiny little pieces that the cricut cuts??
Here is what I do.... I FLIP the image (s) cut it and while it is still on the cutting mat, I apply my adhesive with a tape runner. Then I remove the excess paper around the words then I just use my tweezers and pick up the small pieces already with adhesive on them.
Here is the images flipped


Here are the words with the shadow feature on the cartridge. But what if your cartridge does not have a shadow?


If it does not have a shadow feature...... here is what most people do.... They cut the words at 4" and then again at 4 1/4" but as you see below it doesn't work very well....


If it does not have a shadow and you don't want it to look weird.... Cut 2 of the image out at the SAME SIZE. Then the bottom of the two images, move slightly left or right and then slightly up or down. Depending on which direction you want the shadow to show.


Wednesday, September 12, 2012

Would You Ever Guess Wednesday September 12, 2012- Make something with a Rosette on it or make 3 tags using ONLY feature keys


The design team was challenged to make something with a rosette on it or make 3 tags using ONLY feature keys.

I will be announcing some winners tonight here on the blog.
I will also be posting my message to all of you later tonight. Have a wonderful day!


Melissa used Plantin Schoolbook and Home Accents to create her project. Please visit her blog to see how she made it. http://papershenaniganz.blogspot.com/2012/09/would-you-ever-guess-wednesday-rosette.html


Here is just a little sneak peek at the project Teresa made for
her project today, using the Destinations cartridge.
Head over to her blog at  to see what she has created!


Kathy used the Ribbons and Rosettes,
Create a Critter and Animal Kingdom
to make her project today. Please visit her
blog to see her entire project at
http://3spoileddogs.blogspot.com/2012/09/baby-shower-centerpiece.html


Mary used Winter Frolic and Enjoy The Seasons to create her tag.
Visit her blog to see all the details.
http://mary-fortheloveofart.blogspot.com/2012/09/gift-tags.html


Robin used the cartridge...Ribbons and Rosettes to make her project.
Visit her blog for details on how she made her project.


Thursday, August 23, 2012

Theme Day Thursday August 23, 2012 Apples or Fruits


Jamie used Doodlecharms to make these cute treats.
Check out the details on her blog here
http://craftygirl21.blogspot.com/2012/08/mccr-apples-teacher-gift.html


L.B. used the Cricut Craft Room Exclusive Page Pals and a variety of other apple cuts to make these corner bookmarks. You can see more on her blog http://www.coolbeansbylb.blogspot.com/2012/08/apple-page-pals.html


Kathy used the Doodlecharms Cricut Cartridge to make her card today.


ClaireR used Cricut Craft Room Exclusives: Mixed Drinks and Classroom August/September to make her theme card. For details, please visit her blog http://threewaterscreations.blogspot.com/2012/08/theme-thursday-need-appletini.html


Nanné created this layout with several cartridges. Doodlcharms, Pooh & Friends, Home Decor, Home Accents, Bloom, Create-a-Critter and George&Basic Shapes, plus her Imagine cartridge: Kate's Kitchen. for more details and lots of close ups please visit her blog:


Lisa used Just Because Cards to create this card.
For details you can go to her blog at


Melissa used Home Accents to create her home decor project.
Please visit her blog to see how she made it
http://papershenaniganz.blogspot.com/2012/08/theme-day-thursday-apples-or-fruits.html


I am starting this week's sale a day early in honor of Bella's First Day of school (first day EVER)


I posted a few new sales in the store for the next 3 days
$15 Cricut stamp kit (super cool Cricut Acrylic blocks in it)
Cricut Imagine Ink Black or Color $15
12x24 Cutting Mats $13.99
12x12 Imagine/Expression Cutting Mats $8.99
6x12 Cutting Mats $7.49
Regular Blades $7.49
Deep Cut Blades $10.99

Inspired Heart $24.99
Twinkle Toes $24.99
Four Legged Friends $24.99

Friday, August 17, 2012

Scrapbook Friday August 17, 2012 - Mini Albums


Today the design team made mini-albums with the Cricut. They created their own mini-albums. The Cricut Artiste cartridge has 4 different mini albums that you can make in any combination. But I challenged the design team to create a mini-album without using the actual pre-made mini-albums.


Cricut Mini Books
Handbook ------ Click to order for only $24.99


Cricut Frame of Mind
Ideas -------------Handbook -------- Click to order for $24.99


Cricut Team Spirit
Handbook ------- Click to order for only $34.99


Cricut Tablescapes Fall & Winter
Ideas ----- Handbook ----- Click to Order for only $24.99


Marji used the Artiste cartridge to make her mini album today. Please visit her blog for more pictures and all the details. http://fstampaholic.blogspot.com/2012/08/mini-albums-with-my-cricut-craft-room.html


Christina used Create a Critter, Elegant Edges, and the Cricut Craft Room to create her mini album today. Please visit her blog to see the instructions: http://cema1cema.blogspot.com/2012/08/my-cricut-craft-room-scrapbook-friday_17.html


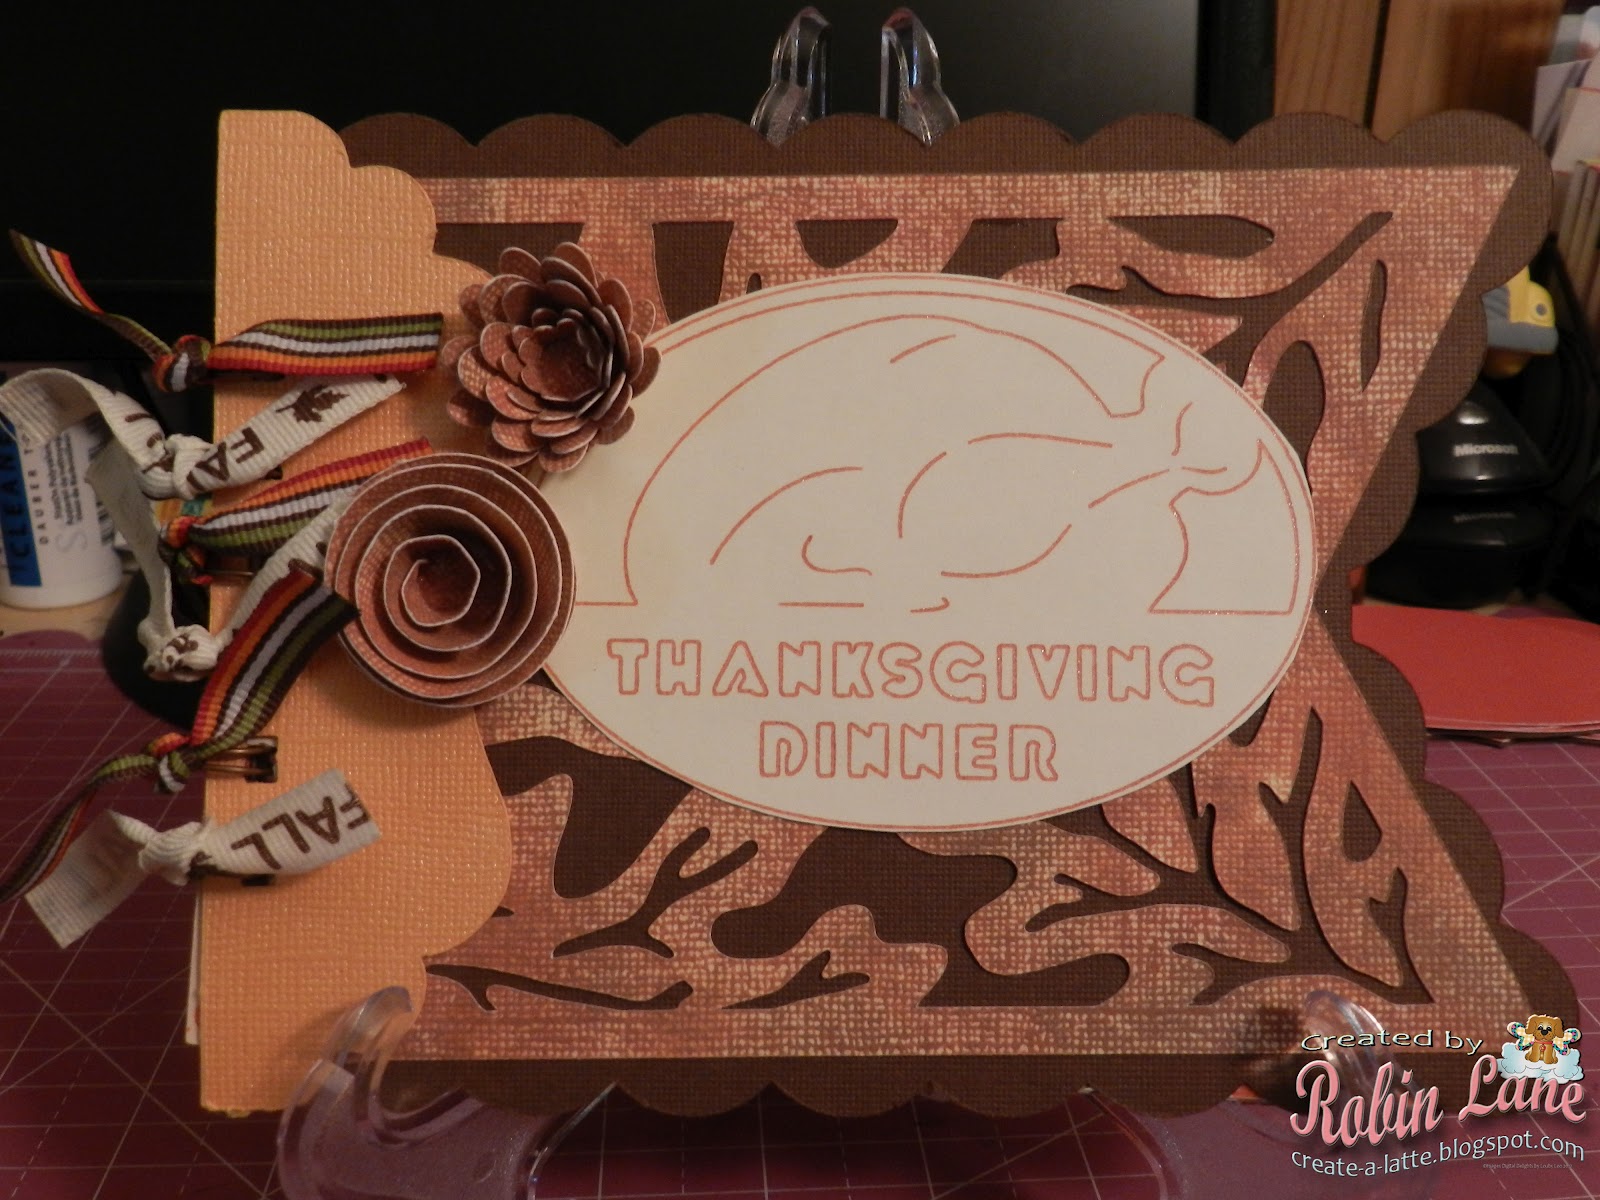
Robin used Cartridges...Pretty Pennants, Autumn Celebrations, Celebrate with Flourish, Art Philosophy, and Wall Decor and More.
Please visit her blog to see the details on how she made her Mini Album at...


Here is a preview of Susie's Mini-Album using the new Artiste cartridge. Check out her blog at for pictures and the actual finished Mini-Album at http://susiesscrappers.blogspot.com/2012/08/mini-album-friday.html


Melissa used Cricut Craft Room Basics, Home Accents, and Birthday Cakes to create her project. To see how she made it, please visit her blog at http://papershenaniganz.blogspot.com/2012/08/scrapbook-friday-fall-mini-album.html


Jenn Lorist used Art Philosophy and Country Life to create her Mini Album. To see how she made it,please visit her blog at http://www.jennspapercrafts.blogspot.com/2012/08/today-is-my-day-to-post-over-at-my.html